Written by Liyipackaging Packaging Team | Published: November 12, 2026 | Last Updated: November 12, 2026
A custom tin packaging project rarely goes wrong because of one big mistake. It usually goes wrong because a small decision, such as an internal dimension, a color reference or a lid fit, was never written down and approved before production started.
This guide explains the order of work: what you provide, what gets confirmed and what you should sign off at each stage. If you are still deciding on shape, lid or printing, start with our custom tin packaging guide and come back here once you are ready to plan the project.
Quick takeaway
- Work in five stages: brief, specification, sample approval, mass production, inspection and shipment.
- Lock the specification in writing before the sample is made.
- Approve the sample with your actual product, not an empty tin.
- Treat the approved sample and specification as the reference for mass production.
- Handle any change after approval as a documented revision.
What Are the Stages of a Custom Tin Packaging Project?
Most custom tin projects follow the same five stages. The details differ by product, but the sequence stays consistent.
| Stage | What you provide | What gets confirmed |
|---|---|---|
| 1. Project brief | Product details, quantity, target market | Whether an existing structure or a new one is needed |
| 2. Specification | Artwork, color references, finishing choices | Dimensions, lid, coating, printing and insert details |
| 3. Sample approval | Actual product for fit testing | Fit, lid, print match, visible quality |
| 4. Mass production | Written approval | Production follows the approved sample |
| 5. Inspection and shipment | Packing and delivery requirements | Quantity, quality, carton packing, shipping details |
[图表:制作 Custom Tin Packaging Process 五阶段流程图,展示 Brief → Specification → Sample Approval → Mass Production → Inspection & Shipment,每个阶段标注客户需提供的内容和需确认的内容。]
Stage 1: How Should You Prepare the Project Brief?
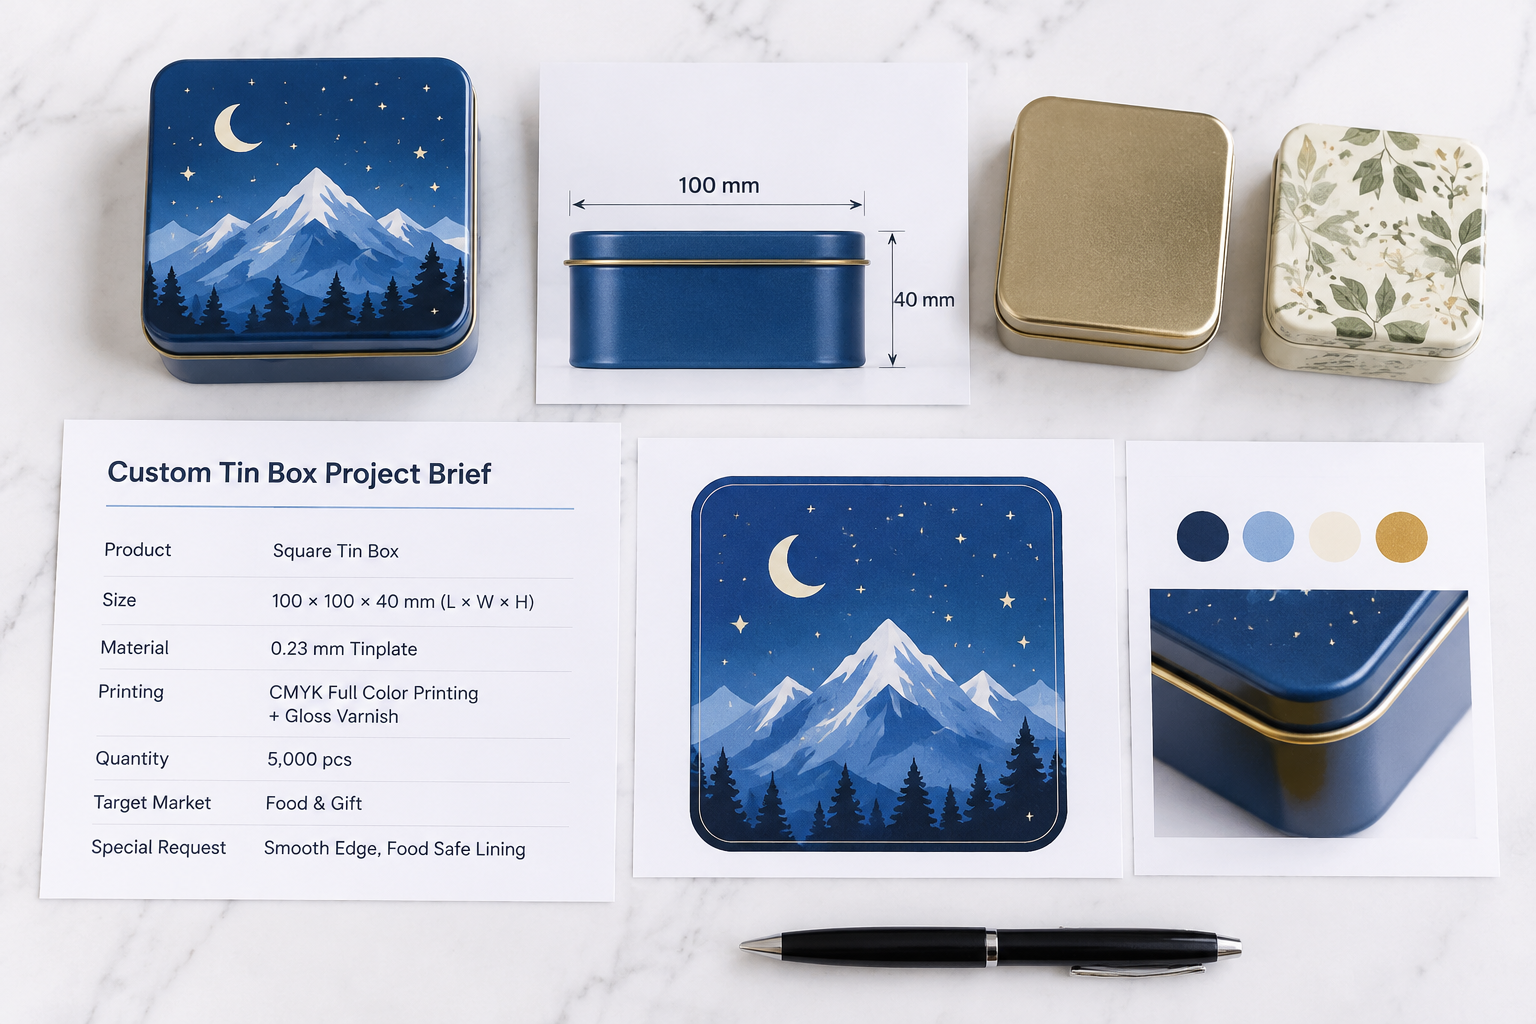
A good brief lets the manufacturer judge the project before any development work starts. Prepare:
- The product, with its dimensions, weight and form (loose, wrapped or bagged).
- The estimated order quantity.
- The target market, which affects food-contact documentation.
- The preferred tin style, or a reference product if you have one.
- The planned launch or delivery date.
If you can, send a physical product sample or clear photos with a ruler in frame. Pricing, MOQ and schedule planning have their own guide: see custom tin box cost, MOQ and lead time.
Stage 2: What Should Be Locked in the Specification?
Before a sample is made, turn the brief into a one-page specification that both sides can refer to. It should state:
- External and internal dimensions.
- Lid type and opening method. For lid options, see our rectangular tin lid types guide.
- Internal coating or inner packaging, where the product requires it.
- Artwork file, Pantone references and finishing effects. Artwork preparation is covered in our custom printed tin packaging guide.
- Inserts, trays or dividers, if any.
If the project involves a non-standard form, the special shape tin guide explains what changes in development.
The purpose of this stage is simple: every item you would otherwise discuss again at the sample stage should already be written down.
Stage 3: How Do You Approve a Custom Tin Sample?
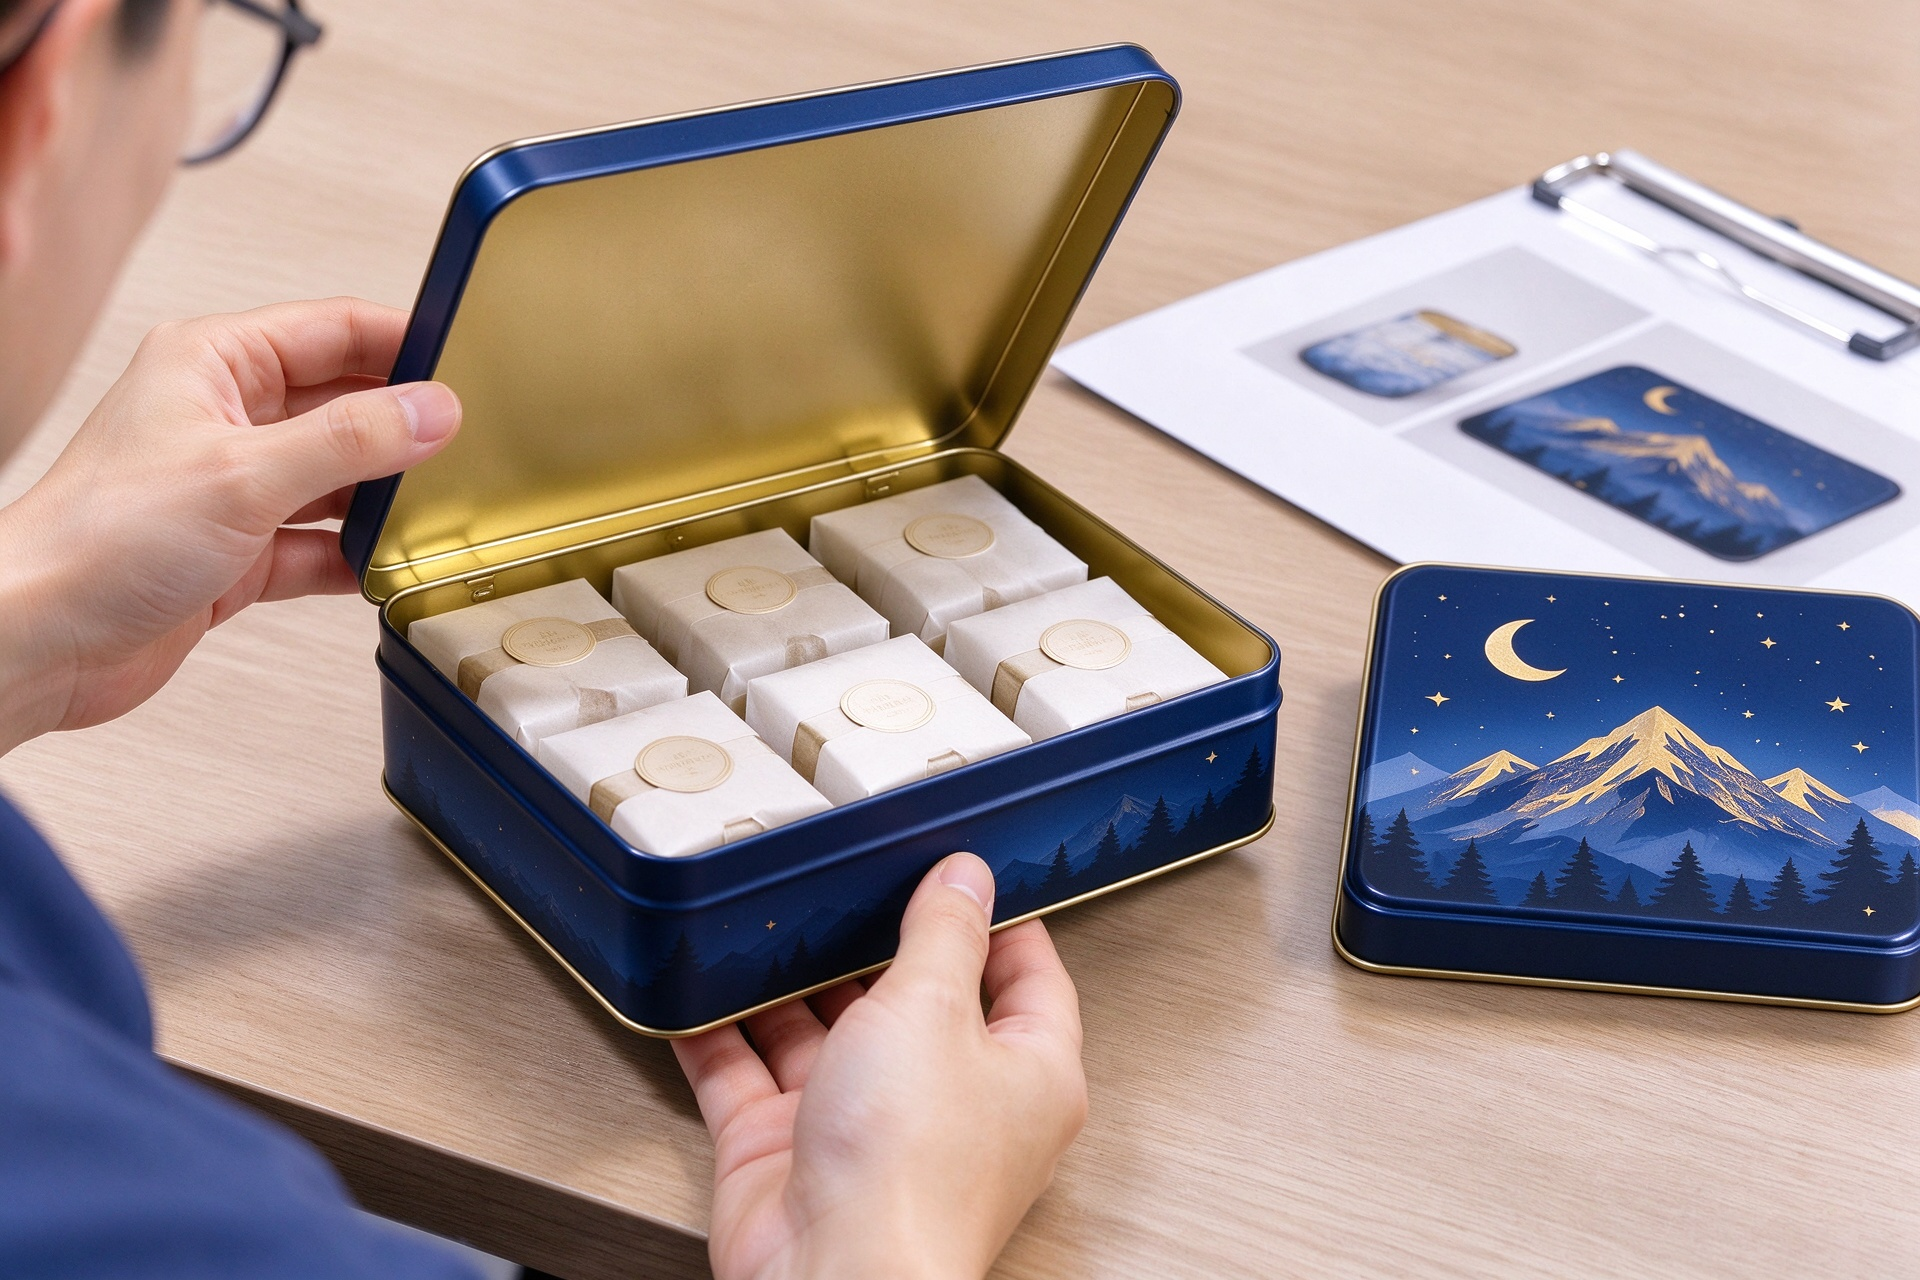
Sample approval is the most important checkpoint in the process. Mass production follows what you approve here, so approve it against the specification, not by appearance alone.
Test the sample with the actual product. For example, if a tin is designed to hold 24 individually wrapped chocolates in a 4 × 6 layout, place all 24 in the tin and check the arrangement, the clearance under the lid and how easily one piece can be removed.
Use a checklist like this one:
| Check | What to confirm |
|---|---|
| Dimensions | External and internal measurements match the specification |
| Product fit | The product sits as planned, with no compression at the lid |
| Lid | Opens, closes and aligns consistently around the rim |
| Artwork, colors and finishes match the approved design | |
| Visible quality | Edges, corners and surfaces are free from visible defects |
Record the approval in writing, with the date and the sample reference. If anything needs adjusting, complete the revision and approve the revised sample before moving on.
Stage 4: What Happens During Mass Production?
After sample approval, production follows the confirmed specification and the approved sample. Two habits keep this stage predictable:
- Do not change the specification informally. A color adjustment or a new insert requested by message during production can affect schedule and cost. Treat every change as a documented revision, and confirm it before the work continues.
- Keep the approved sample as the reference. If a question arises about color, finish or fit, both sides compare against the same sample.
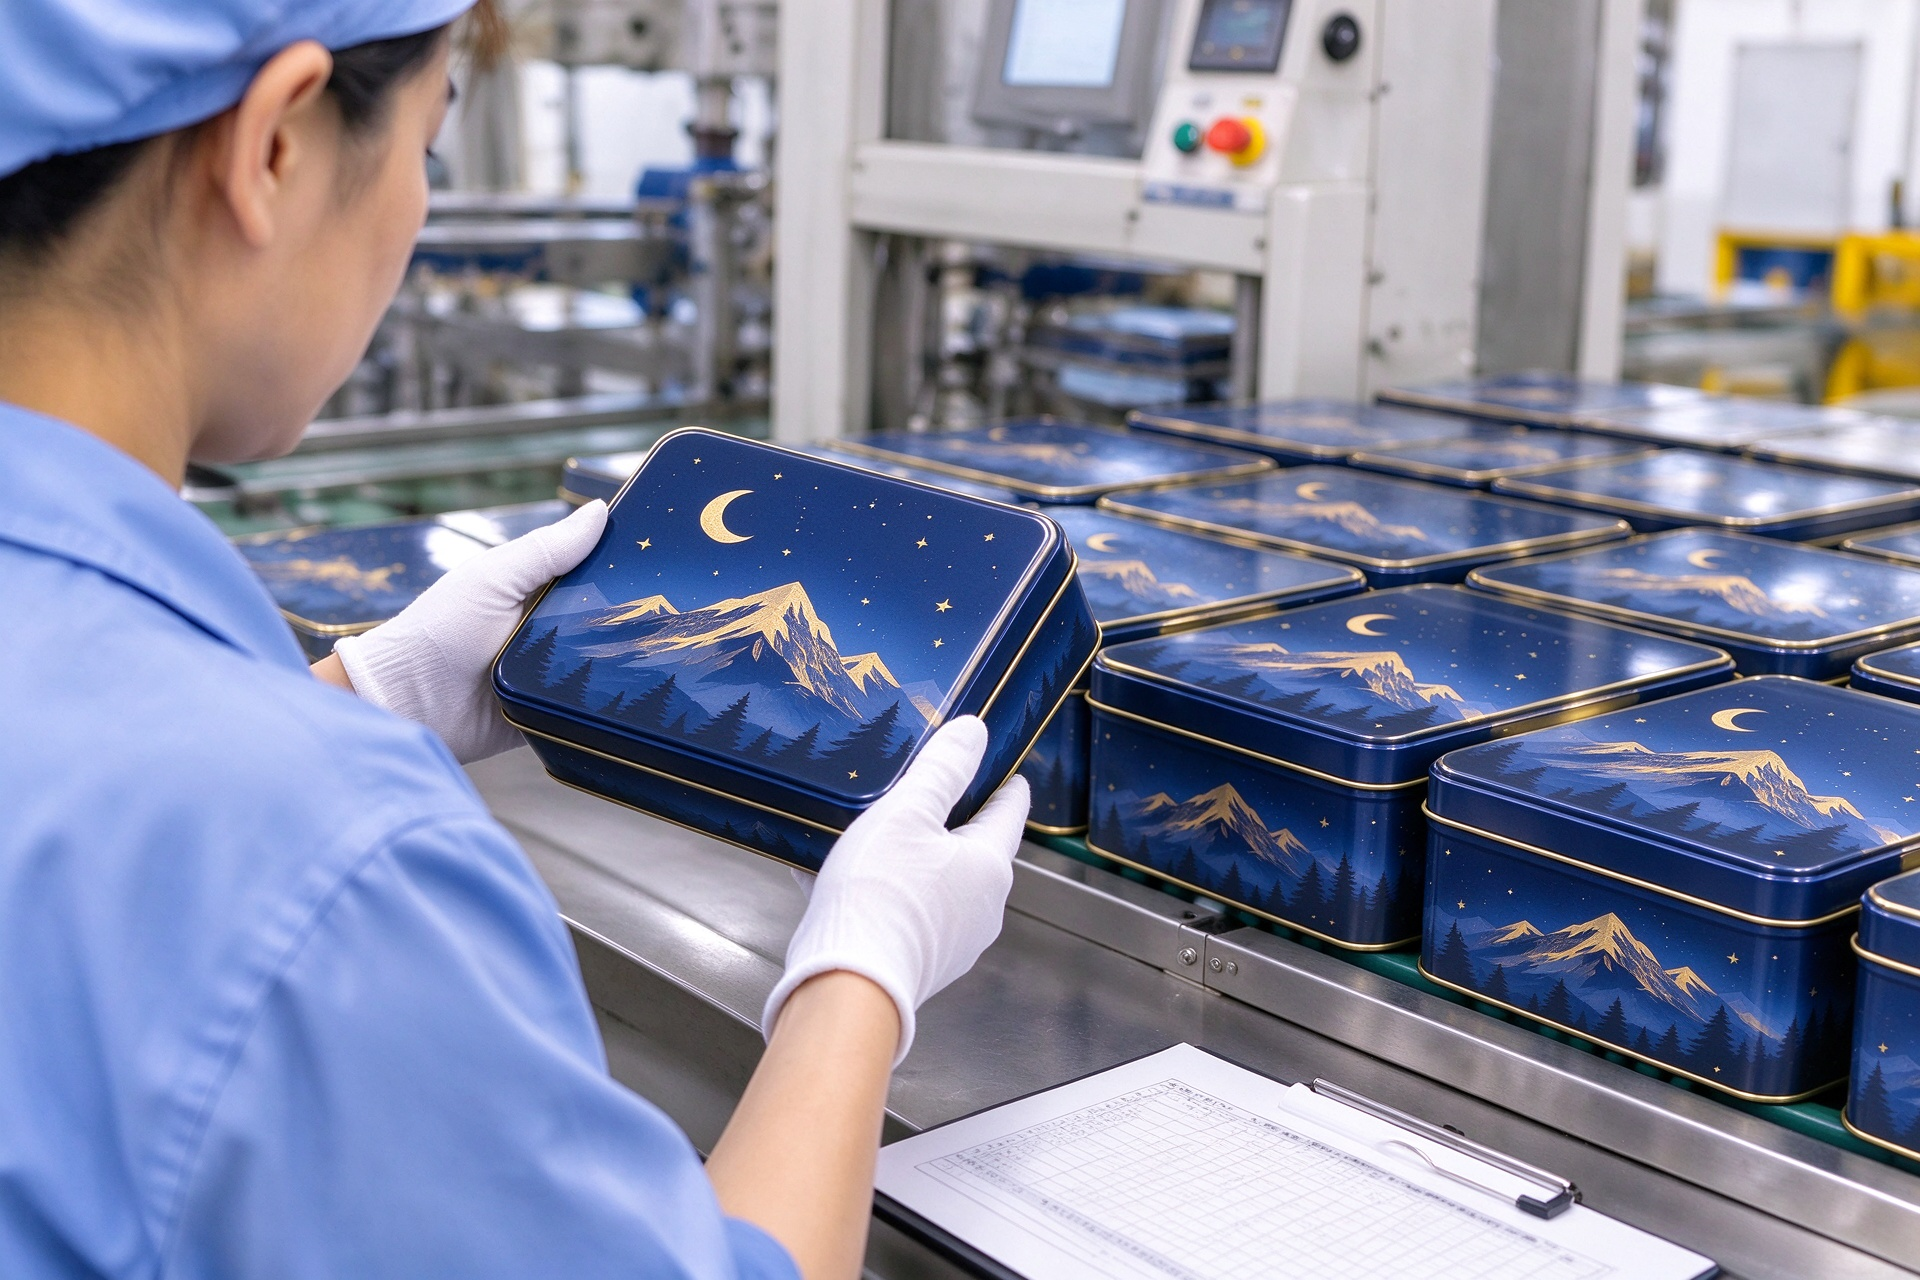
Stage 5: What Should Be Checked Before Shipment?
Quality checks should cover the same points you approved at the sample stage:
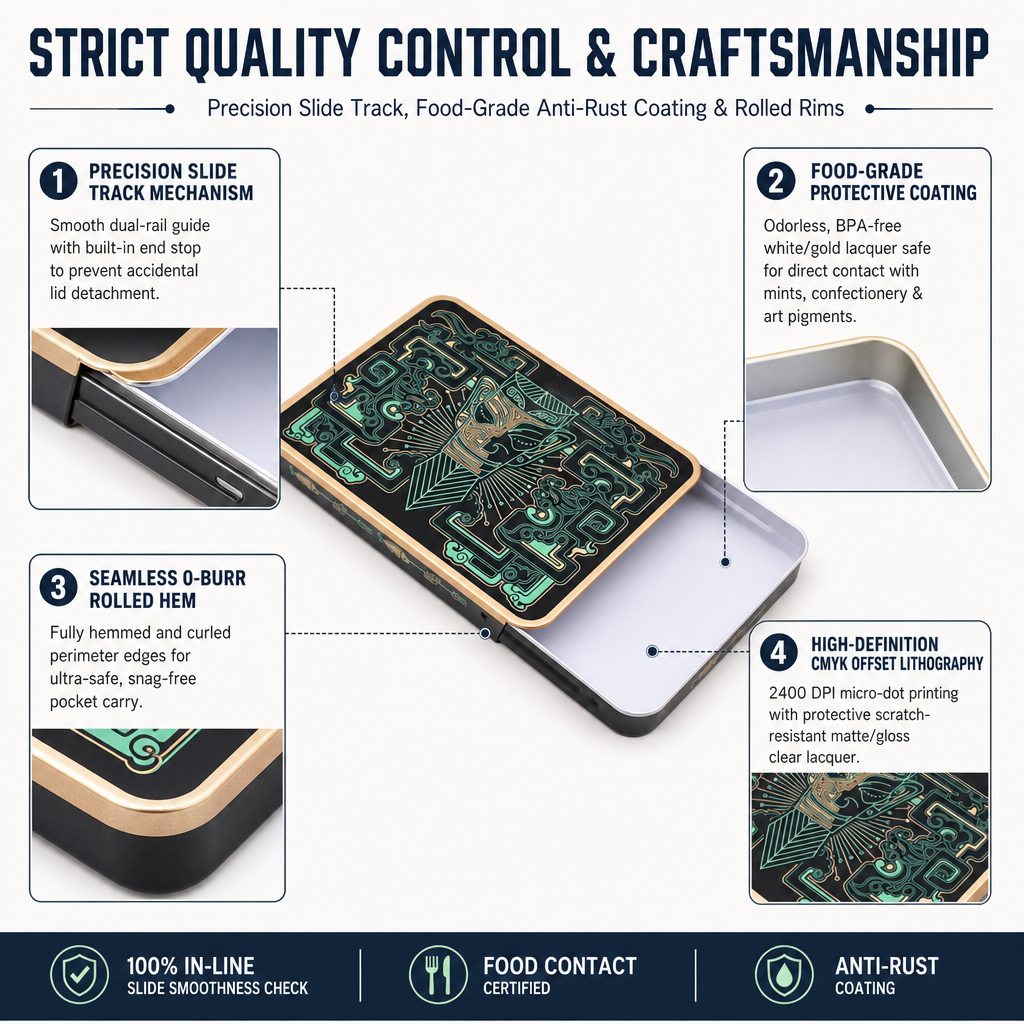
- Appearance, edges and surface condition.
- Dimensions and lid fit.
- Printing and finishes compared with the approved sample.
- Carton packing, quantity and labeling.
Ask what documentation or photos will be available before shipment, and agree in advance how discrepancies will be handled. For food products, confirm the coating and food-contact documentation at the brief stage, not at the end. The details are in our food tin containers guide.
Where Do Custom Tin Projects Usually Slip?
- The specification stays in conversation and is never written down.
- The sample is checked without the actual product.
- Artwork is changed after approval without a documented revision.
- Food-contact requirements are raised only after production planning.
- The delivery date is set before sampling and revisions are counted.
How Does Liyipackaging Coordinate the Process?
Liyipackaging has more than 25 years of packaging experience, a 3,000㎡ facility and monthly production capacity of up to 2 million units. Our team coordinates the specification, sampling, production communication and pre-shipment confirmation in one workflow, so changes are recorded in one place. You can read more about the company on our About Us page.
To start a project, contact our team with your product details, estimated quantity and target market.
Related Guides
- Custom Tin Packaging Guide: choosing shape, lid, printing and supplier.
- Custom Tin Box Cost, MOQ & Lead Time: quotation and schedule planning.
- Custom Printed Tin Packaging Guide: artwork and finishing.
- Food Tin Containers: food-contact considerations.
Frequently Asked Questions
What Is the Process for Ordering Custom Tin Packaging?
A typical project moves through the project brief, specification, sample approval, mass production, and inspection and shipment. Each stage should be confirmed before the next one begins.
What Should I Check on a Pre-Production Tin Sample?
Check dimensions, product fit, lid operation, printing and visible quality. Test with the actual product whenever possible.
Can I Change the Artwork After Sample Approval?
Changes can be made, but they should be handled as a documented revision and may affect schedule and cost. Confirm any change in writing before production continues.
Where Can I Find MOQ and Lead Time Information?
MOQ, cost and lead time are covered in our cost, MOQ and lead time guide and on the FAQ page. Exact figures depend on the structure and printing requirements of your project.