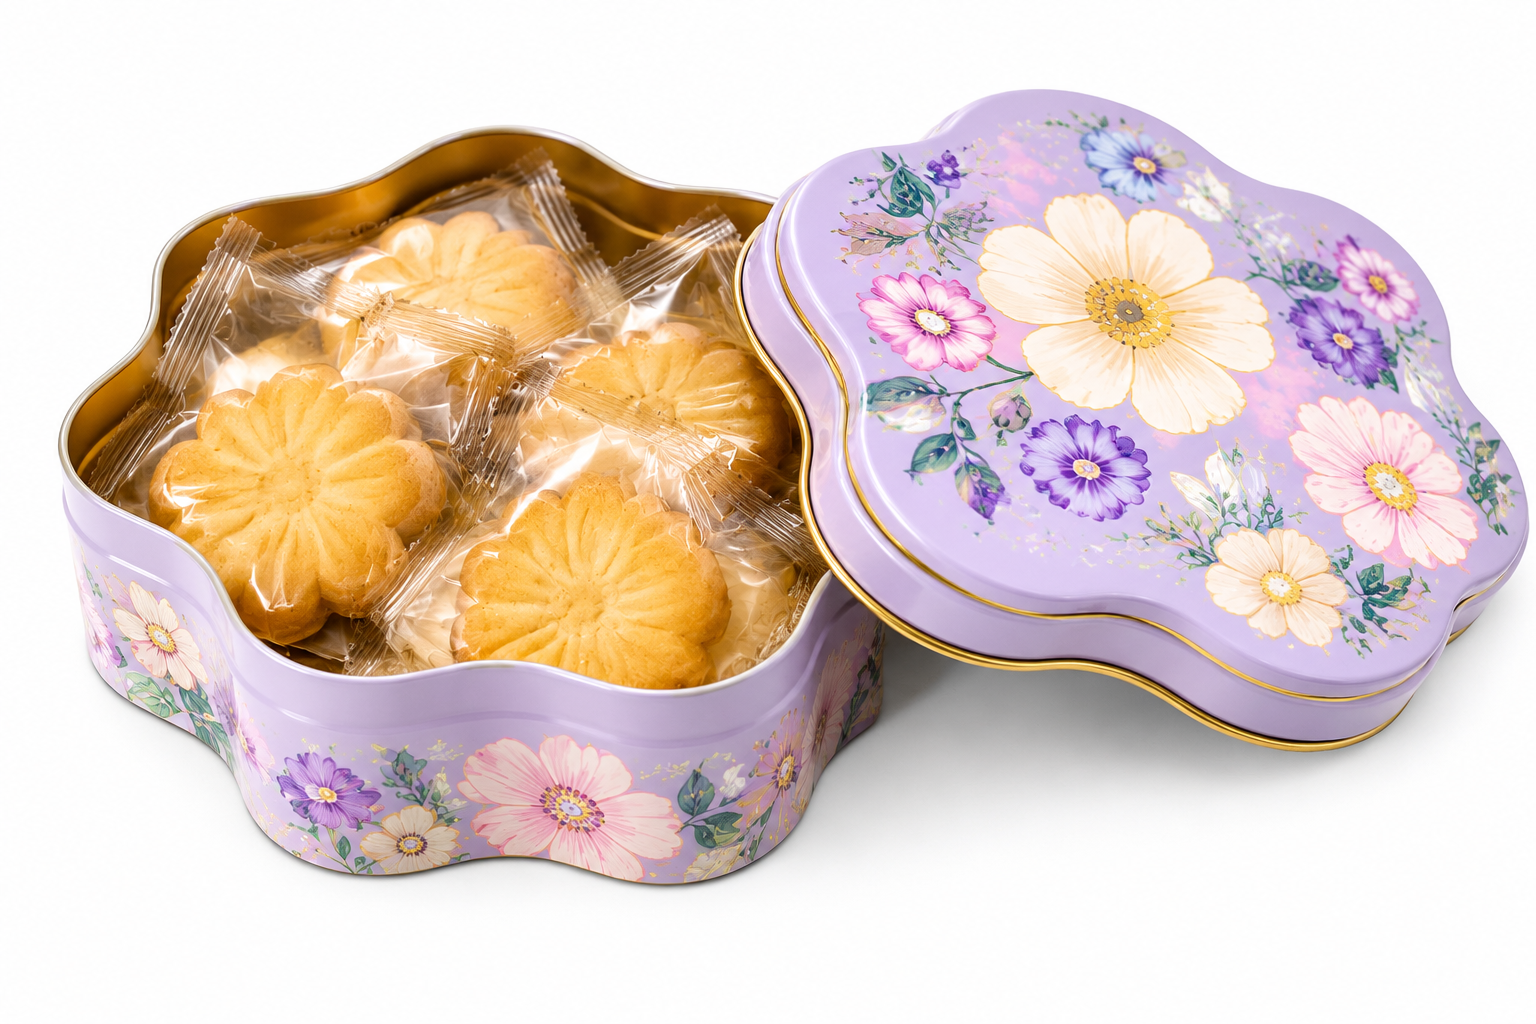
Written by Liyipackaging Packaging Team | Published: November 13, 2026 | Last updated: November 13, 2026
By the time an irregular tin box reaches the sample stage, the outline, size and lid structure have usually been decided. What remains is the question a drawing cannot answer: does the physical tin work with your product?
An irregular outline makes this check more important than it is for a standard rectangular or round tin. The lid has to follow a curved or pointed contour. The usable space inside is smaller than the outer dimensions suggest. Printed artwork has to sit correctly around corners and narrow sections.
This guide explains what to check on the sample, how to test it with your real product, and how to record the result so the approved tin becomes the reference for mass production. For shape selection, tooling and quotation requirements, see our special shape tin packaging guide.
Quick takeaway: Approve an irregular tin sample only after you have opened and closed the lid several times, packed the real product at the real quantity, measured the usable internal space, and recorded the result in writing.
Why Does an Irregular Tin Need a Closer Sample Check?
A rectangular tin has straight sides and four corners, so most of the outer volume is usable. An irregular tin does not work that way. A heart, star or flower outline has points, lobes and narrow sections where products cannot sit, even though the outer dimensions look generous.
That creates three risks a screen render will not show:
- The lid may follow the outline well in one area and sit unevenly in another.
- The space available for the product may be lower than expected.
- Artwork placed correctly on a flat file may look off once it wraps a curve or corner.
A physical sample is the only reliable way to catch these problems while changes are still manageable.
How Do You Check Lid Fit on an Irregular Outline?
Check the lid as part of the body, not as a separate part. Place the lid on the body, then look at the full outline rather than only the center.
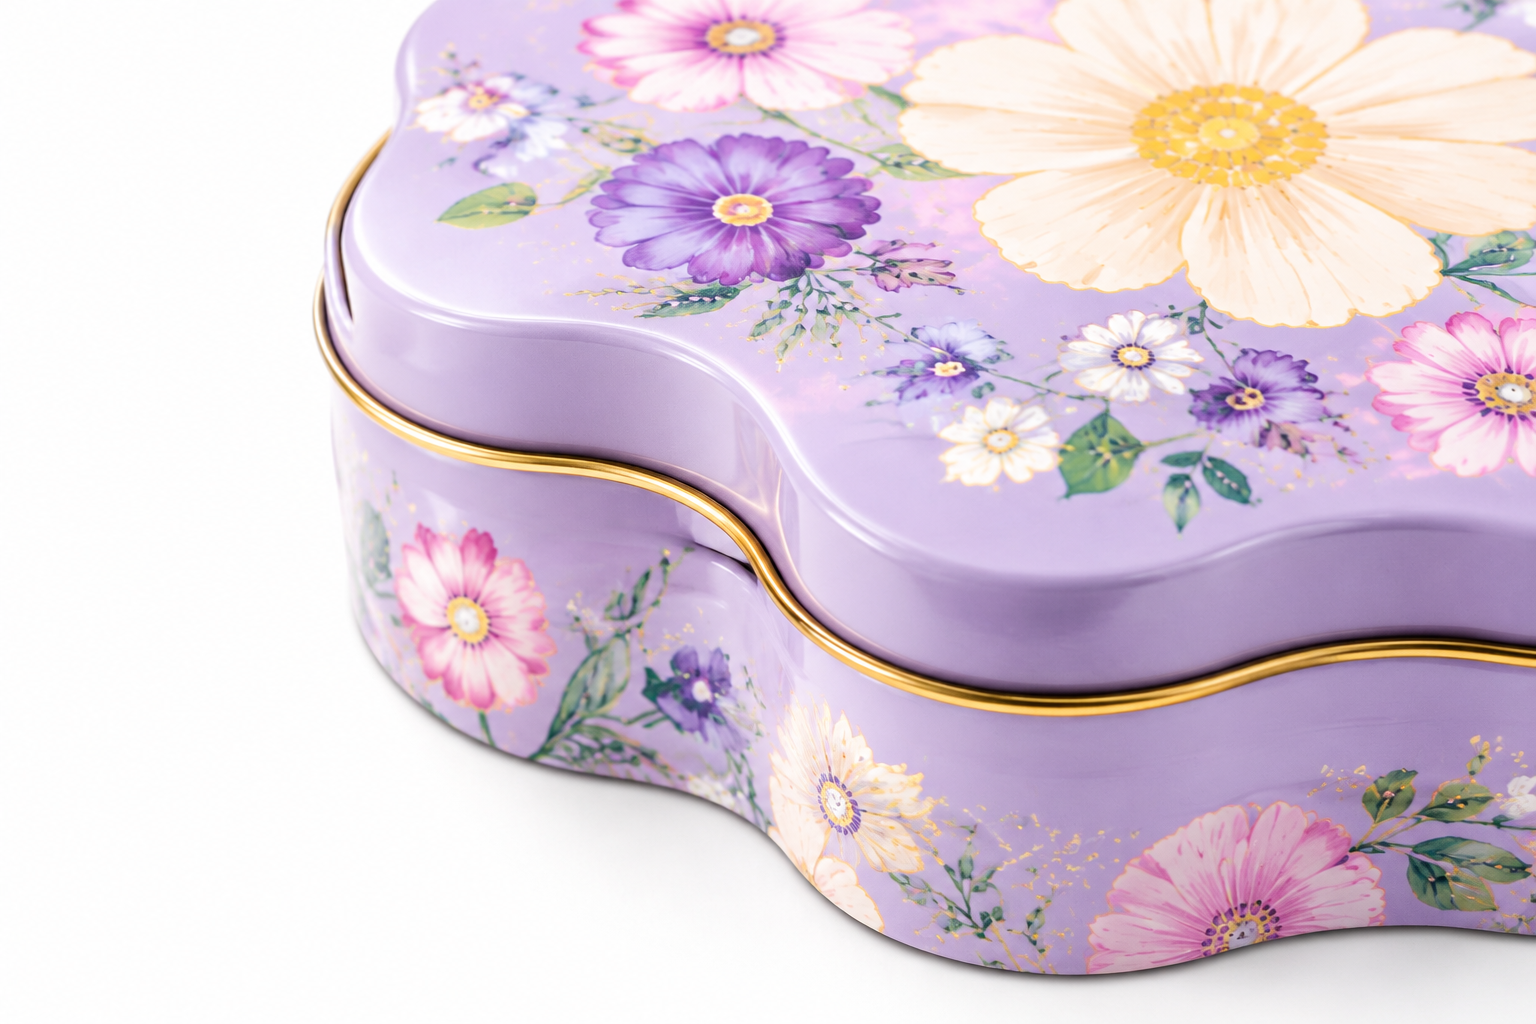
Gap consistency. Look around the whole contour, especially at the points, curves and narrow sections. The gap between lid and body should look even. A lid that fits well along the straight sections but sits unevenly at a tip or a lobe is a warning sign.
Opening and closing. Open and close the tin repeatedly, not once. Note whether the lid goes on smoothly, whether it needs excessive force, and whether it catches on the rim at any point.
Seating. Press the closed lid lightly at several points around the edge. A properly seated lid should not shift or rock.
Handling. Pick the closed tin up and turn it over. The lid should stay in place during normal handling, and the tin should not feel loose or distorted.
If the lid structure itself needs to change, for example from a removable to a hinged lid, that is a structural change rather than a sample adjustment. Confirm it with the supplier before continuing, because it can affect tooling.
What Should You Inspect on the Edges and Printing?
Run your fingers and eyes along the full outline before testing anything else.
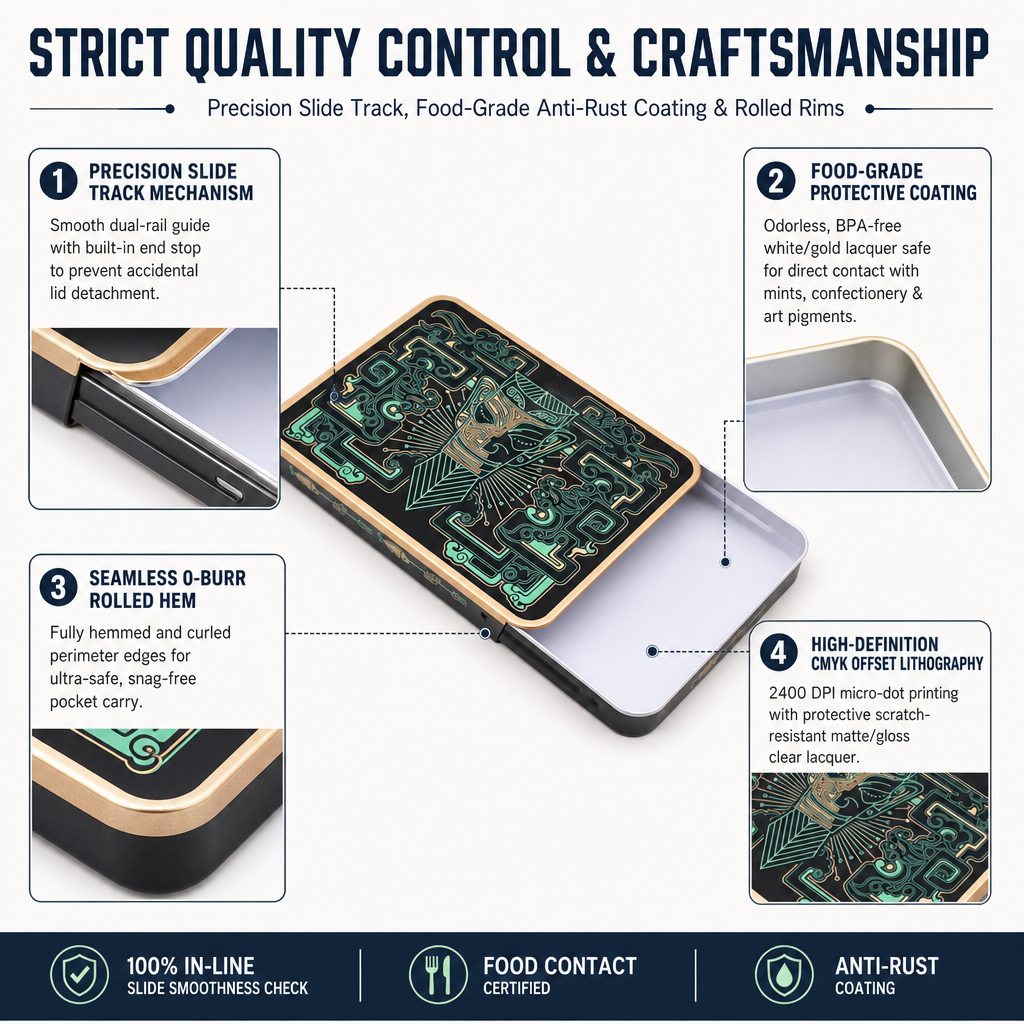
- Edge finish: The rim should feel smooth and consistent, with no visible dents or irregular areas at the curves.
- Shape accuracy: Compare the outline with the approved drawing or template. Check that the proportions have not drifted.
- Artwork placement: Check logos, text and key graphics at corners, tips and narrow areas, where placement is most likely to look different from the flat file.
- Surface finish: Confirm that the finish on the sample matches what was approved, whether matte, glossy or another treatment. If the sample is not printed or finished the same way as production, ask what will differ.
For artwork preparation and color specification, see our custom printed tin packaging guide.
How Do You Test Usable Internal Space with Your Real Product?
Never judge fit from the outer dimensions. Pack the actual product, in the actual quantity, in the actual arrangement.
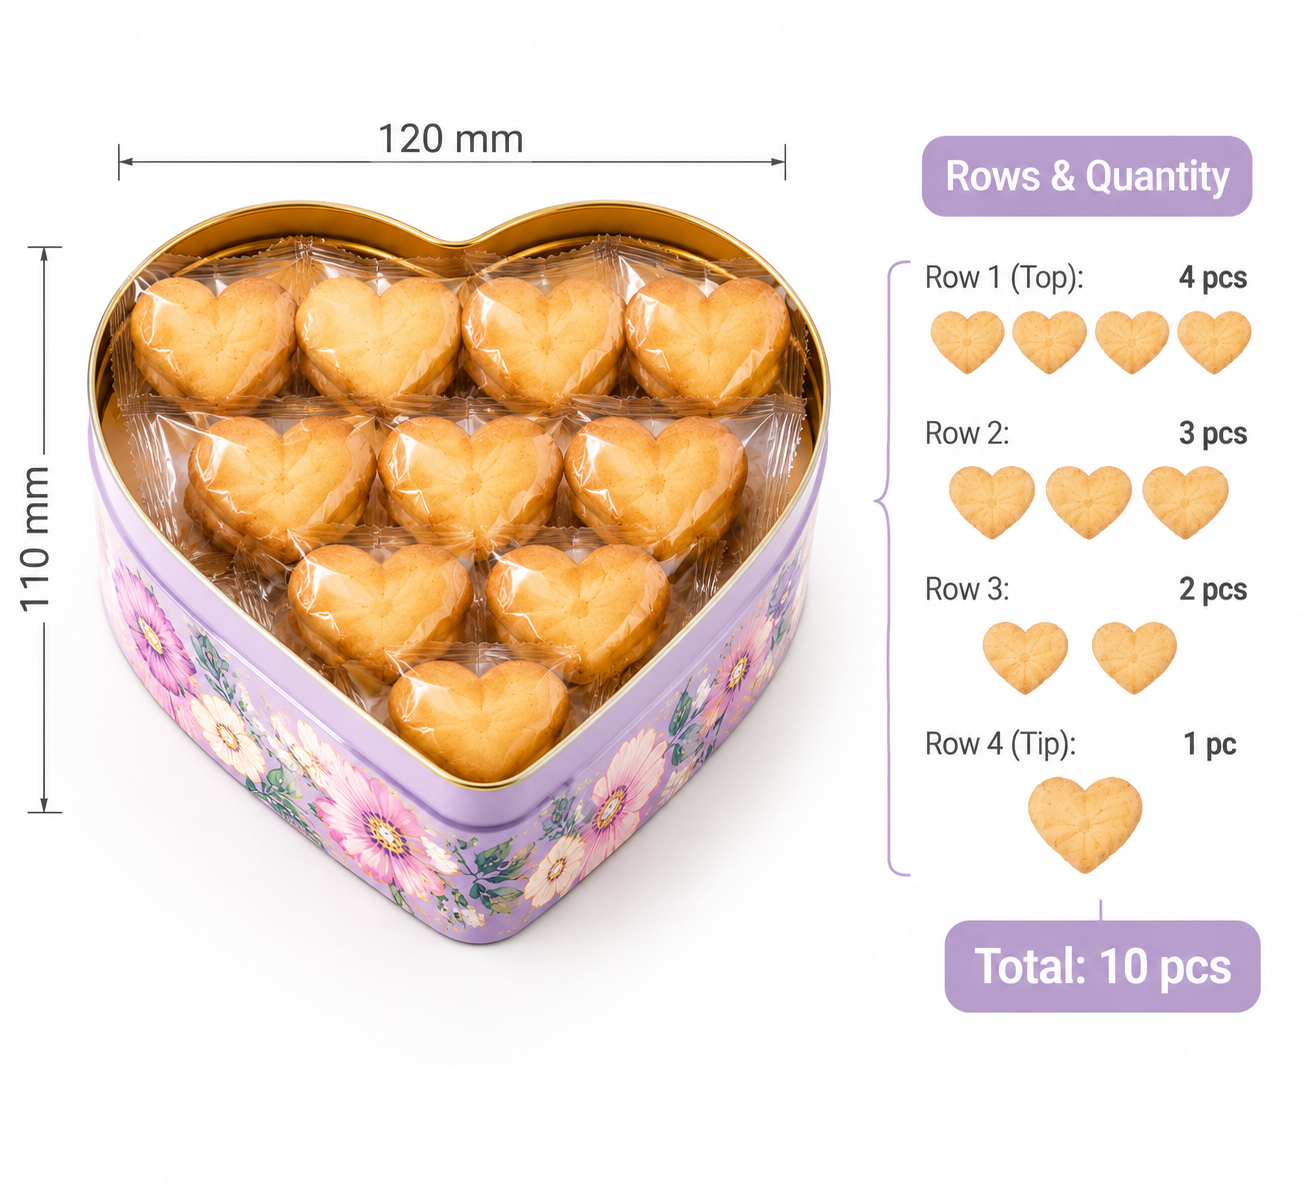
Take a heart-shaped tin for individually wrapped candies. The widest section holds the most pieces, but each row toward the point holds fewer. Count the capacity row by row, then add the rows together.
Illustrative example only, not a Liyipackaging specification:
| Row (widest to tip) | Candies that fit |
|---|---|
| Row 1 | 6 |
| Row 2 | 6 |
| Row 3 | 5 |
| Row 4 | 3 |
| Row 5 | 1 |
| Total per layer | 21 |
In this example, a target of 30 candies does not fit in a single layer. The brand would need a second partial layer, which requires more depth, or a larger outline. The sample test shows this immediately, while the outer dimensions would have suggested the tin was big enough.
When you test with the real product, check these points:
- Does the full quantity fit without forcing the lid?
- Is there clearance between the product and the underside of the lid?
- Does the product stay in place when the tin is tilted or shaken lightly?
- Is any product pressed against the tin wall or point in a way that could damage it?
If the tin will hold food, confirm the food-contact requirements for your target market with the supplier before approving the sample. Our custom candy tin guide covers this for confectionery.
Which Checks Should You Record Before Approval?
Use a simple table, and record a result for each line.
| Check | What to look for | Result |
|---|---|---|
| Lid gap around the outline | Even gap at curves, points and narrow sections | Pass / Adjust |
| Opening and closing | Smooth action over repeated use, no catching | Pass / Adjust |
| Lid seating | No rocking or shifting when pressed or handled | Pass / Adjust |
| Edge finish | Smooth rim, no visible dents at curves | Pass / Adjust |
| Outline accuracy | Matches the approved drawing | Pass / Adjust |
| Artwork placement | Logo and text correct at corners and tips | Pass / Adjust |
| Product quantity | Full quantity fits without forcing the lid | Pass / Adjust |
| Clearance | Space between product and lid underside | Pass / Adjust |
| Transit test | Packed tin does not rattle in its shipping carton | Pass / Adjust |
For the transit line, pack the sample in the carton type you plan to use for shipping and check that the contents stay stable. This takes a few minutes and often shows problems that a bench test does not.
How Should You Document the Approved Sample?
Once the sample passes, record what was approved so that production has a clear reference.
- Photograph the sample from the top, the side and with the lid open, including the product inside.
- Record the key measurements, including overall outline, depth and the product quantity that fit.
- Confirm the approved version in writing, referring to the drawing and artwork version it was based on.
- Keep the approved sample as the physical reference for comparison during production and pre-shipment inspection.
This matters because a verbal “looks fine” is difficult to compare against a finished batch weeks later.
What Should You Do If the Sample Does Not Pass?
Sort the problem into one of three groups before sending feedback, because each group leads to a different kind of change.
- Artwork issues, such as logo position or color. These are usually corrected in the artwork file and do not affect the tin structure.
- Dimension issues, such as insufficient clearance or capacity. These may require a change to size or depth, so confirm the effect with the supplier.
- Structural issues, such as lid fit or outline problems. These can affect tooling, so discuss them with the supplier before assuming a quick adjustment.
Send feedback with photos and measurements rather than general comments such as “the lid feels wrong.” A photo of the exact area and a note describing the problem lets the supplier respond faster.
For tooling, current MOQ, cost factors and lead time planning, refer to our custom tin box cost, MOQ and lead time guide. Figures for these topics are kept there so they stay consistent.
FAQ: Irregular Tin Box Samples
How do I know if my irregular tin box sample is good enough to approve?
It should pass every line of your checklist: even lid fit around the whole outline, smooth opening and closing, accurate outline, correct artwork placement, and the full product quantity fitting with clearance. If any line is marked “Adjust,” resolve it before approving.
Should I test the sample with the real product?
Yes. A sample tested only with an empty tin cannot show whether the product fits, whether the lid clears the contents, or whether the arrangement is stable.
Does the sample need to be printed to check the fit?
Not always. A structural sample can show fit, but it cannot show color or print placement. Ask the supplier whether your sample will be printed and finished like production, and treat any differences as limits on what the sample can confirm.
Who should approve the sample?
Ideally, the person who will manage the product and the person who will manage purchasing both check it. One checks product fit, and the other checks specification and quantity against the order.
What if the lid feels slightly tight or loose?
Record exactly where and how it feels, with photos. A small difference may be adjustable, while a difference at one point of the outline may indicate a structural issue. Let the supplier assess it before approving.
Ready to develop an irregular tin box?
Browse our irregular tin boxes, or review the custom tin packaging guide for an overview of structures and options. When you have a reference image, product dimensions and estimated quantity, contact Liyipackaging to start a feasibility review.